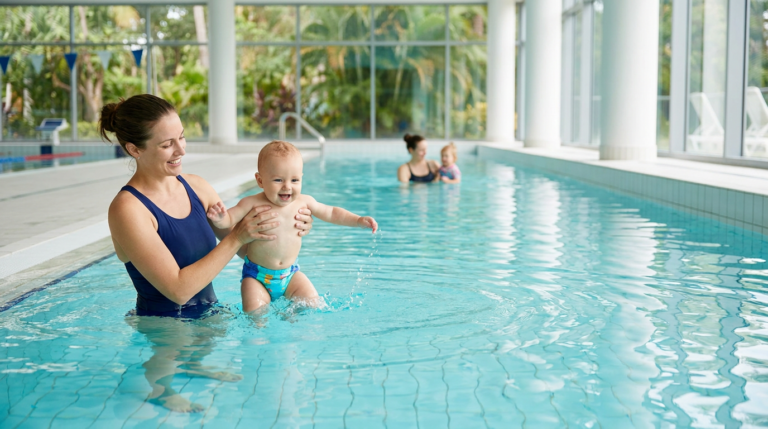
Learning to swim is one of the most valuable life skills you can develop, particularly in Singapore where we're surrounded by water and have a strong aquatic culture. However, many beginners unknowingly develop habits that hinder their progress and make swimming feel more exhausting than it should be. These mistakes can be frustrating, causing you to plateau in your development or even lose confidence in the water.
After training more than 25,000 students over two decades at SPEEDISWIM, we've identified recurring patterns in how beginners approach swimming. The good news? These mistakes are completely fixable with the right guidance and practice. Whether you're just starting your swimming journey or looking to refine technique you learned years ago, understanding these common errors will accelerate your progress significantly.
In this comprehensive guide, we'll walk you through 15 of the most common swimming mistakes beginners make, explain why they happen, and provide expert-backed solutions to correct them. These fixes are drawn from our SwimSafer 2.0 methodology and proven coaching techniques that have helped develop over 1,000 athletes and countless confident recreational swimmers.
One of the most fundamental mistakes beginners make is holding their breath underwater instead of exhaling. When you hold your breath, carbon dioxide builds up in your lungs, creating that desperate, panicky feeling that makes you rush to the surface. This pattern disrupts your stroke rhythm and wastes precious energy. Many beginners also try to exhale and inhale during the brief moment their head is out of the water, which simply doesn't provide enough time for proper gas exchange.
The Fix: Develop a continuous breathing pattern where you exhale steadily through your nose and mouth while your face is in the water. Start practicing this while standing in shallow water, submerging your face and exhaling bubbles, then turning to the side to inhale. The exhalation should be gradual and controlled, not forceful. When you turn your head to breathe during freestyle, you should only need to inhale since you've already expelled the used air. This technique, which we emphasize in our SwimSafer Program, creates a natural breathing rhythm that reduces fatigue and anxiety.
Many beginners instinctively lift their entire head out of the water when breathing, often because they want to keep water away from their face or simply haven't learned the proper technique. This seemingly small error has significant consequences for your body position. When your head comes up, your hips automatically drop, increasing drag and making you work much harder to move forward. It's like trying to swim uphill.
The Fix: Keep one goggle lens in the water when breathing during freestyle. Your head should rotate to the side rather than lift upward, as if your head is resting on a pillow. The waterline should cut across your goggles, with your mouth just clearing the surface for that quick breath. Practice this by pushing off the wall and gliding on your side with one arm extended, your lower goggle in the water, and your mouth just above the surface. This position should feel balanced and sustainable. Many swimmers who correct this single mistake report immediate improvements in speed and reduced fatigue.
Poor body position is perhaps the single biggest energy waster for beginner swimmers. When your hips and legs sink below the surface, you're essentially dragging them through the water rather than gliding over it. This creates massive resistance and explains why many beginners feel exhausted after just one or two laps. The problem often stems from tension in the water, inadequate core engagement, or the head position issues we just discussed.
The Fix: Focus on achieving a streamlined, horizontal position by engaging your core muscles and keeping your head in a neutral position (looking down and slightly forward, not straight down or ahead). Imagine a straight line running from the top of your head through your spine to your feet. Practice streamlining by pushing off the wall with arms extended overhead, one hand on top of the other, squeezing your upper arms against your ears, and holding a tight body line as you glide. Your hips should feel close to the surface. Incorporating regular plank exercises into your dry-land routine will also build the core strength necessary to maintain proper position in the water.
During freestyle, many beginners allow their hands to cross over their body's center line during the entry phase of the stroke. This creates a scissoring or snake-like swimming pattern rather than a straight path through the water. Not only does this create lateral movement that wastes energy, but it also affects your body rotation and can lead to shoulder injuries over time. You'll notice swimmers with this issue appear to wiggle from side to side rather than moving efficiently forward.
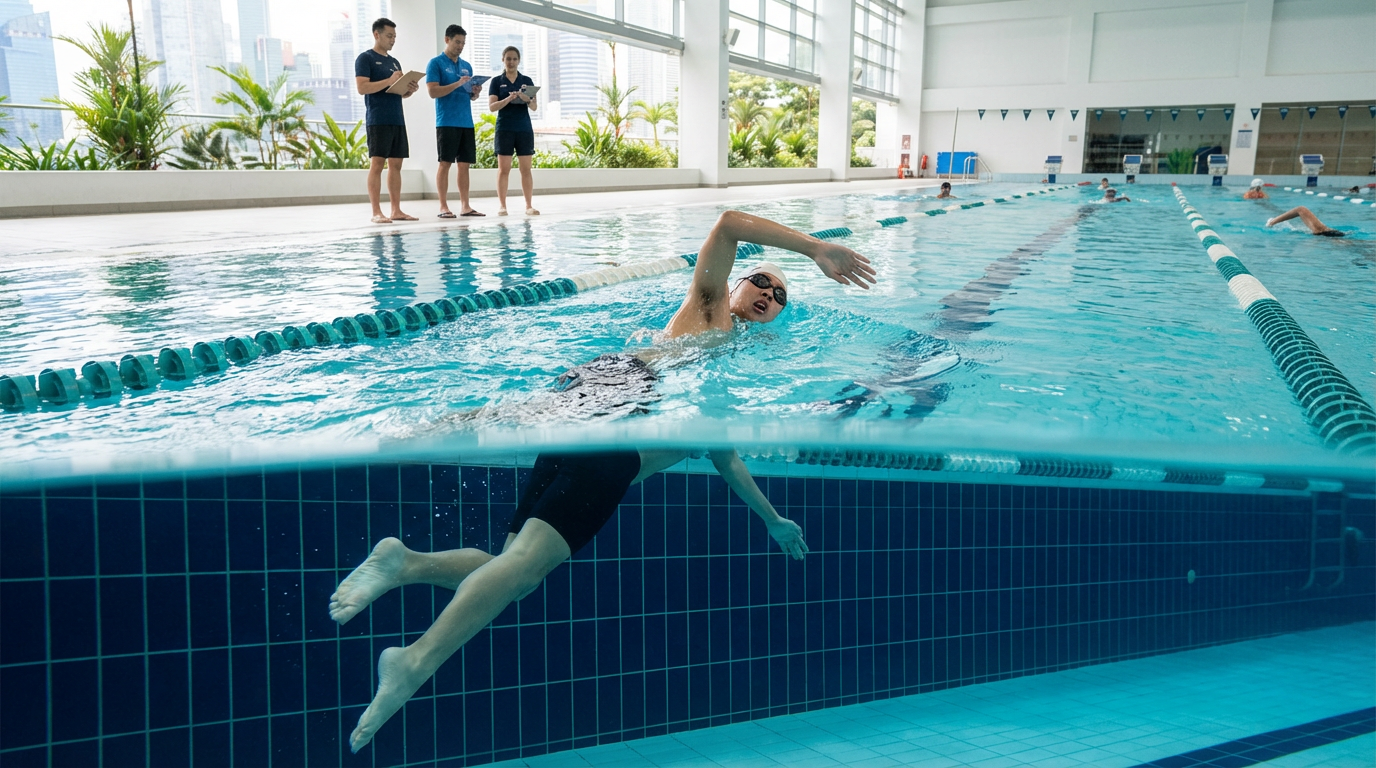
The Fix: Visualize swimming between two parallel lines, with each hand entering and pulling along its respective side. Your right hand should enter the water in front of your right shoulder, and your left hand in front of your left shoulder. During the entry phase, your fingertips should enter first (like sliding your hand into a glove), with your hand entering at about a 45-degree angle. A helpful drill is to practice with a pull buoy, focusing exclusively on hand entry position, or to place a kickboard lengthwise down the center of your lane and swim alongside it, ensuring neither hand crosses over. Our coaches at competitive swimming programs use video analysis to help swimmers visualize and correct this common issue.
The "bicycle kick" is one of the most recognizable beginner mistakes. This occurs when swimmers bend their knees excessively and kick from the knee joint rather than initiating the movement from the hips. This technique provides almost no propulsion and actually increases drag by creating turbulence and breaking your streamline. You'll recognize this mistake if you see knees breaking the water surface or if your kick feels like pedaling a bike underwater.
The Fix: Your kick should originate from the hip, with your legs relatively straight (a slight knee bend is natural and acceptable) and ankles loose and floppy. Think of cracking a whip, where the power starts at your hip and transfers through your thigh, knee, shin, and finally to your foot. Your ankles should be relaxed and flexible, allowing your feet to act like flippers. Practice vertical kicking in deep water to build strength and reinforce proper technique. Without the support of horizontal swimming, this drill forces you to kick correctly from your hips. Hold your arms in a streamline position or keep them at your sides while treading water using only your kick. Start with 20-30 second intervals and gradually increase duration as your technique improves.
If your swimming sounds loud with lots of splashing, you're likely slapping the water with flat hands during entry. This harsh entry creates air bubbles that reduce your ability to grip the water during the pull phase, essentially causing your hand to slip rather than catch. Additionally, the impact from slapping can lead to shoulder strain over time and signals inefficient energy use. Quiet swimming is efficient swimming.
The Fix: Focus on a gentle, fingertips-first entry that pierces the water's surface like a knife rather than slapping it like a paddle. After your hand enters, extend it forward beneath the surface before beginning your pull, as if you're reaching into a mailbox to retrieve something from the back. This extension phase is crucial for maximizing your stroke length. Practice this by doing slow-motion swimming, focusing entirely on the entry and extension phase. Your hand should enter at about a 45-degree angle with fingers together (more on this later) and fingertips leading. The quieter your stroke, the more efficient your technique. Many swimmers find that this correction alone can add significant distance per stroke.
Swimming flat on your stomach is exhausting and slow. Beginners often keep their torso rigid and flat on the water's surface, using only their arms and legs to swim. This "arm swimming" approach limits your power, makes breathing awkward, and puts unnecessary strain on your shoulders. Proper freestyle technique involves rhythmic rotation along your longitudinal axis, similar to how your body naturally rotates when walking or running.
The Fix: Your body should rotate approximately 30-45 degrees to each side with every stroke cycle. This rotation is initiated by your core, not your arms, and should feel like your body is rolling from side to side on an axis running from your head to your toes. The rotation serves multiple purposes: it engages your powerful core and back muscles, makes breathing more natural, reduces shoulder strain, and improves your streamline position. Practice this with side-kicking drills, where you push off the wall on your side with bottom arm extended and top arm at your side, maintaining a 90-degree rotation while kicking. Alternate sides every 25 meters. This drill, commonly used in SwimSafer 2.0 training, helps you feel the proper rotated position and builds the awareness needed during full-stroke swimming.
While it's natural to develop a preferred breathing side, exclusively breathing on one side creates muscular imbalances and an asymmetrical stroke. You'll develop stronger muscles on your dominant side, which can lead to swimming in a curved line rather than straight. This becomes particularly problematic during open water swimming when you need navigational awareness on both sides. Additionally, in competitive scenarios or crowded lanes, being unable to breathe on either side limits your tactical options.
The Fix: Develop bilateral breathing (breathing on both sides) by practicing a pattern of breathing every three strokes. This naturally alternates your breathing side and helps balance your stroke. Start by dedicating specific practice lengths to your non-dominant breathing side to build comfort and capability. It will feel awkward initially, much like writing with your non-dominant hand, but persistence pays dividends. Begin with breathing every five or seven strokes to your weak side during warm-up, then gradually progress to every three strokes. Our SwimSafer Program emphasizes bilateral breathing as a core skill for water competency. Even if you prefer one side during distance swimming, having the ability to breathe comfortably on both sides is essential for safety and stroke balance.
Perhaps the most counterintuitive mistake is trying to swim fast before mastering technique. Beginners often equate faster arm turnover with faster swimming, leading to frantic, splashy, exhausting swimming that covers minimal distance. This approach reinforces bad habits and creates frustration when progress stalls. Swimming is fundamentally different from running or cycling where more effort generally equals more speed. In swimming, efficiency and technique trump raw effort, especially for beginners.
The Fix: Slow down deliberately and focus on stroke length rather than stroke rate. Count your strokes per length and work to reduce that number, which means you're covering more distance with each stroke. Efficient swimmers typically take fewer strokes per length than inefficient ones. Practice with a tempo trainer or by mentally counting "1-2-3" during your glide phase to force yourself to slow down. Aim to reduce your stroke count by 2-3 strokes per 25-meter length over several weeks. This approach builds better habits and will ultimately make you faster. Think of it as building a foundation: you can't construct the upper floors until the ground floor is solid. Many swimmers who embrace this patient approach experience breakthrough moments when technique clicks and speed comes naturally without extra effort.
The glide phase is where efficiency lives, yet many beginners skip it entirely in their rush to take the next stroke. This creates a choppy, short stroke that requires constant effort with minimal payoff. Without a glide, you're essentially restarting your momentum with every stroke rather than maintaining it. This mistake is closely related to swimming too fast, as both stem from the misconception that constant motion equals speed.
The Fix: After your hand enters the water and extends forward, hold that streamlined position momentarily while your other arm completes its underwater pull. This brief glide allows your body to move forward on the momentum you've created, conserves energy, and maximizes distance per stroke. The glide should feel natural, not forced or exaggerated. A good drill for developing glide awareness is "catch-up stroke," where one hand must touch or nearly touch the extended hand before that extended hand begins its pull. This exaggerates the glide phase and helps you feel the difference in effort and efficiency. As you become more comfortable, you can reduce the overlap while maintaining a moment of extension and glide with each stroke. Quality glide doesn't mean floating motionless; rather, it's about capitalizing on the momentum you've generated.
Some beginners swim with fingers spread wide, thinking this allows water to flow through and reduces resistance. In reality, the opposite is true. Your hand and forearm function as your paddle in the water, and spreading your fingers reduces the surface area you can use to grip and pull against the water. Research has shown that a small natural gap between fingers is acceptable, but wide spreading significantly reduces propulsive efficiency.
The Fix: Keep your fingers together but relaxed, not rigid or tense. Think of your hand as a paddle or a dinner plate rather than a fork. Your thumb should remain slightly separated from your index finger (this is natural and actually optimal), but your four fingers should stay together. During your underwater pull, maintain this hand position while focusing on feeling the water pressure against your palm and fingertips. A helpful awareness drill is to swim with a closed fist for a 25-meter length, then immediately swim the next length with proper hand position. You'll immediately feel the difference in water grip and pull power. This contrast drill helps your nervous system understand what effective hand position feels like. Periodically check your hand position during rest intervals, as fatigue can cause fingers to splay without you noticing.
The straight-arm pull is biomechanically inefficient and limits your ability to engage your strongest pulling muscles. Beginners often pull with a relatively straight arm throughout the entire underwater phase, which reduces power generation and can stress the shoulder joint. This technique is sometimes called "windmill swimming" and is typically a carryover from survival stroke patterns or insufficient instruction.
The Fix: Your underwater pull should follow an S-shaped or slight outward-inward-outward pattern with a bent elbow. After your hand enters and extends forward, pitch your fingertips slightly downward and outward to "catch" the water with your forearm and hand. As your hand pulls backward, your elbow should bend to approximately 90 degrees at the midpoint of your pull (when your hand is roughly under your shoulder). Your elbow should point toward the ceiling throughout this phase ("high elbow" position), allowing your forearm and hand to act as a unified paddle. Finish the pull by straightening your arm as your hand pushes past your hip. Practice this with pull buoy drills and sculling exercises that help you feel pressure on your forearm, not just your hand. Our coaches at competitive swimming sessions use underwater video analysis to show athletes the profound difference proper arm bend makes in propulsion.
Water occasionally entering your nose is inevitable when learning to swim, yet this sensation causes many beginners to panic, stand up, or abandon their stroke entirely. This fear can become a psychological barrier that prevents progress and makes breathing feel stressful rather than natural. The panic response is understandable but counterproductive, as tension makes everything in swimming more difficult.
The Fix: Practice controlled exposure to help desensitize yourself to this sensation. Start in shallow water where you can stand comfortably. Submerge your face and exhale gently through your nose, which creates positive pressure that naturally prevents water from entering. If water does enter, stay calm and simply exhale slightly more forcefully through your nose to clear it. Practice this until the sensation becomes routine rather than alarming. Many swimmers find that humming while underwater creates a gentle, continuous air flow through the nose that prevents water entry. During swimming, maintaining that steady exhalation we discussed earlier naturally protects your nose. Over time, your confidence will grow and the panic response will disappear. This mental conditioning is a key component of water safety education in SwimSafer 2.0, which emphasizes building comfort progressively through controlled challenges.
Swimming is a coordinated full-body movement, but beginners often treat it as separate components: arms doing one thing while legs do another, with breathing happening whenever possible. This disconnected approach creates an uneven, inefficient stroke that feels like you're fighting against yourself. Poor timing also disrupts your rhythm and makes it difficult to settle into a sustainable pace. You might notice this if your swimming feels jerky or if you can't establish a consistent breathing pattern.
The Fix: Focus on developing proper stroke timing, which varies by stroke but follows predictable patterns. For freestyle, most swimmers use a six-beat kick (six kicks per stroke cycle), breathing every 2-4 strokes depending on the pattern chosen. Your body rotation should synchronize with your arm pull, rotating as your arm enters and pulls. Start by swimming slowly and deliberately, counting your kicks per arm cycle to establish rhythm. Practice with a "swim golf" drill where you add your stroke count and time per length, working to lower this combined score, which forces attention to both efficiency and timing. Consider working with qualified instructors who can provide external observation and feedback. The structured progression in our SwimSafer certification addresses timing through appropriate drills at each stage, building coordination gradually as skills develop. Many swimmers find that timing improves naturally once individual components (breathing, rotation, kick) are corrected, as the body seeks its natural rhythm.
Many beginners view drills as boring or unnecessary once they can swim a length, preferring to just "swim laps" instead. This approach severely limits progress, as drills isolate and strengthen specific aspects of technique that get lost in full-stroke swimming. Even elite athletes dedicate significant training time to fundamental drills. Skipping drills is like a musician who never practices scales, expecting concert-level performance to emerge from just playing complete songs.
The Fix: Incorporate dedicated drill work into every swim session, even if it's just 10-15 minutes. Essential drills for beginners include kick drills with a board, one-arm swimming (swimming with one arm while the other remains extended), catch-up stroke, side-kicking, and finger-drag drill (where fingertips drag along the water surface during arm recovery, promoting high elbow position). Create a rotation of 3-4 drills and practice them consistently. Each drill targets specific technical elements and provides focused practice that accelerates improvement. Consider documenting your drill sessions to track which drills address your specific weaknesses. If you're unsure which drills would benefit you most, working with qualified coaches who can assess your stroke and prescribe appropriate drills is invaluable. The investment in proper instruction typically ranges from $35 to $55 per session for group lessons or $60 to $120 for private coaching in Singapore, but the accelerated progress and ingrained proper technique provide long-term value that far exceeds the cost. At SPEEDISWIM, our structured approach systematically introduces drills aligned with your progression level, ensuring each drill serves a clear developmental purpose.
These 15 mistakes might seem overwhelming when viewed together, but remember that every skilled swimmer once struggled with these same issues. The key is addressing them systematically rather than trying to fix everything at once. Pick 2-3 mistakes that resonate most with your current experience and focus your practice sessions on those specific areas. As those improvements become ingrained habits, move on to the next set of challenges.
Swimming is unique among sports in that small technical improvements yield dramatic results in efficiency and enjoyment. A minor adjustment to your head position or breathing pattern can transform an exhausting struggle into a sustainable, enjoyable activity. This is why proper instruction and structured progression matter so much, particularly in the early stages of learning. The habits you form now will stay with you throughout your swimming journey, whether you swim recreationally for fitness or decide to pursue competitive swimming or other aquatic sports like water polo or artistic swimming.
Quality video feedback can be transformative for identifying and correcting technique issues. Consider recording yourself swimming (most smartphones are now waterproof or have waterproof cases) or asking someone to record you from the pool deck. Watching your own stroke reveals mistakes that are impossible to feel while you're swimming. Compare your technique to demonstration videos from reputable sources or competitive swimmers to see the differences clearly.
Finally, be patient with yourself. Motor learning takes time, and swimming involves coordinating movements in an unfamiliar environment with different physical properties than air. Some corrections will feel natural immediately, while others might take weeks or months to feel comfortable. Progress isn't always linear; you might struggle with something for several sessions and then suddenly have it click. This is normal and part of the learning process. What matters is consistent, focused practice with attention to technique rather than just mindlessly completing laps.
Mastering swimming technique is a journey that requires patience, proper instruction, and deliberate practice. By recognizing and correcting these 15 common mistakes, you're setting yourself up for a lifetime of confident, efficient swimming. Remember that these technical improvements don't just make you faster—they make swimming more enjoyable, less exhausting, and safer.
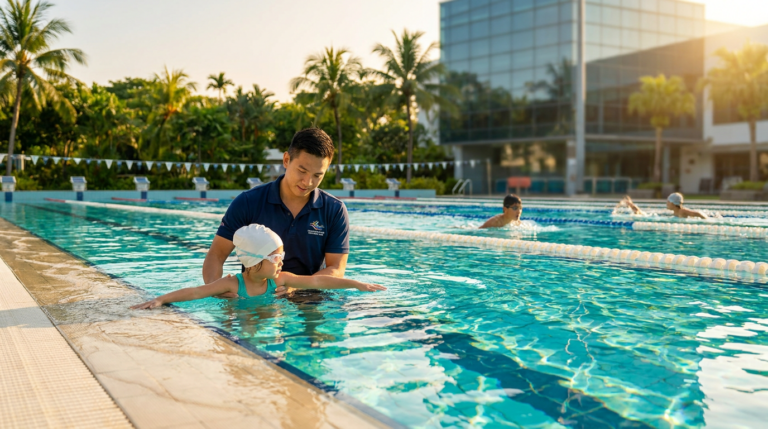
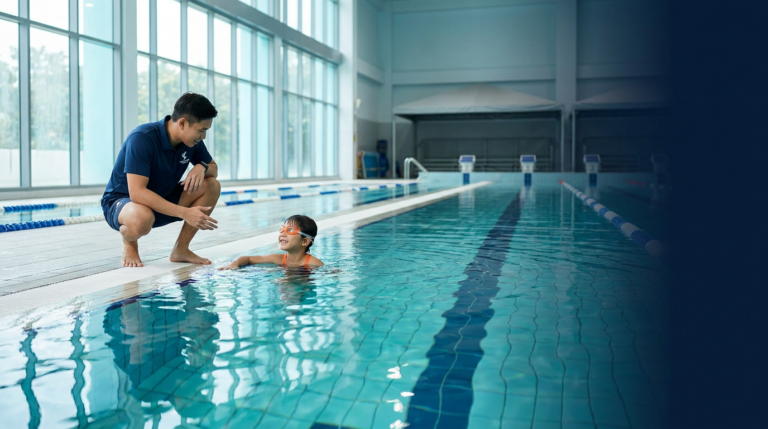
At SPEEDISWIM, we've spent over 20 years refining our teaching methodology to address exactly these fundamental issues through our SwimSafer 2.0-aligned programs. Our experienced coaches understand the progression of skill development and can provide the personalized feedback necessary to identify and correct your specific technical challenges. Whether you're a complete beginner seeking water confidence or someone looking to refine years of self-taught technique, structured professional instruction accelerates your progress exponentially compared to trial-and-error learning.
The difference between struggling through laps and gliding effortlessly through the water often comes down to a few key technical adjustments. Don't let fixable mistakes hold you back from experiencing the joy and freedom that comes with confident, efficient swimming. With the right guidance and commitment to proper technique, you'll be amazed at how quickly your swimming transforms.
Join over 25,000 students who have learned to swim with confidence at SPEEDISWIM. Our professionally qualified coaches provide personalized instruction to help you master proper technique from day one.